Willow Glen Farm on Etsy

Past Posts by Theme
Past Posts By Week
Squarespace
Powered by Squarespace

Entries in wool (31)

Thursday
Nov112010

Art for Artists

I consider myself a fiber artist, but I've only recently started using the title when describing my job to people. It seems a little strange still, but running my own business helps boost my confidence. And yet, the question remains: when was this a hobby and why am I now an artist? I don't think sales defines art, I don't think a finished item defines art (ie: something created for the sole purpose of being admired and not used).

So what does? And who exactly is an artist?

I'm continually adapting my definition of art and being an artist as I explore my own art and that of others. And I find myself in an interesting place, along with many other dyers and spinners: our art is a supply for other artists. We don't create a finished product (well, unless you count all my un-knit handspun hanging as decoration on hooks in my back studio): we create to help others create. But we're no less artists!

Oh the layers. Oh the depth.

With that being said, I'm often in awe of some of the things my customers make, so here I go bragging on them . . .

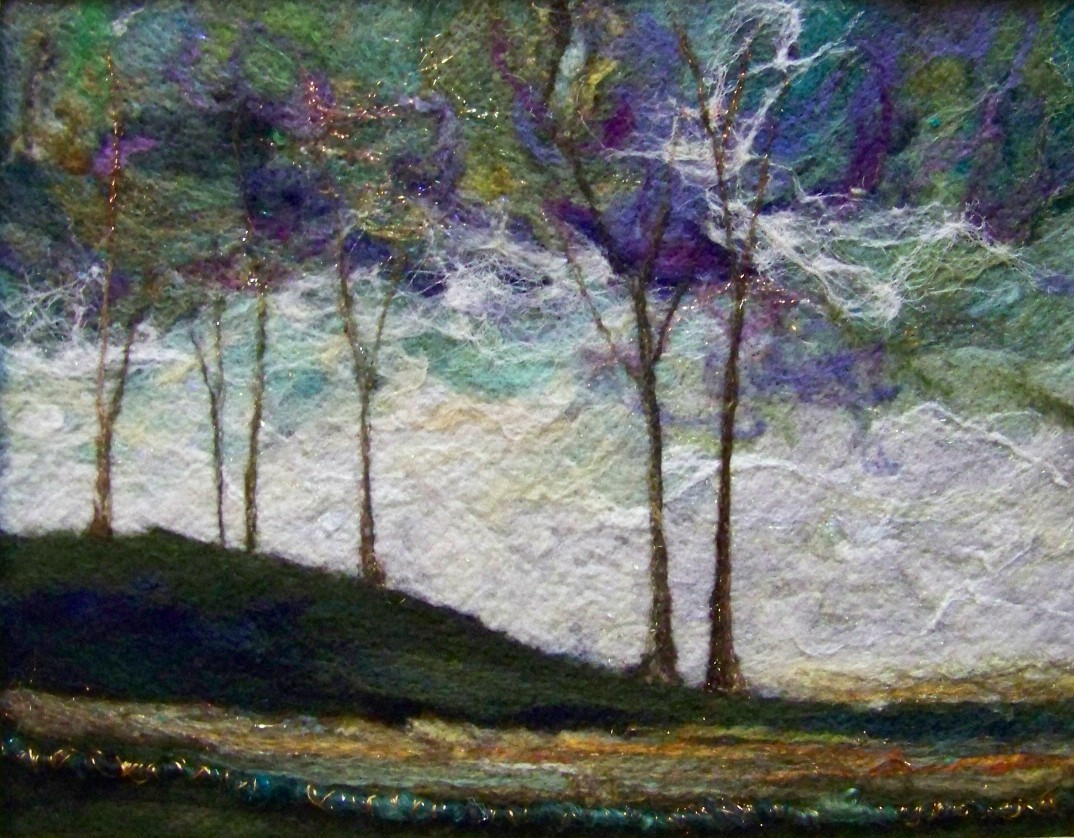
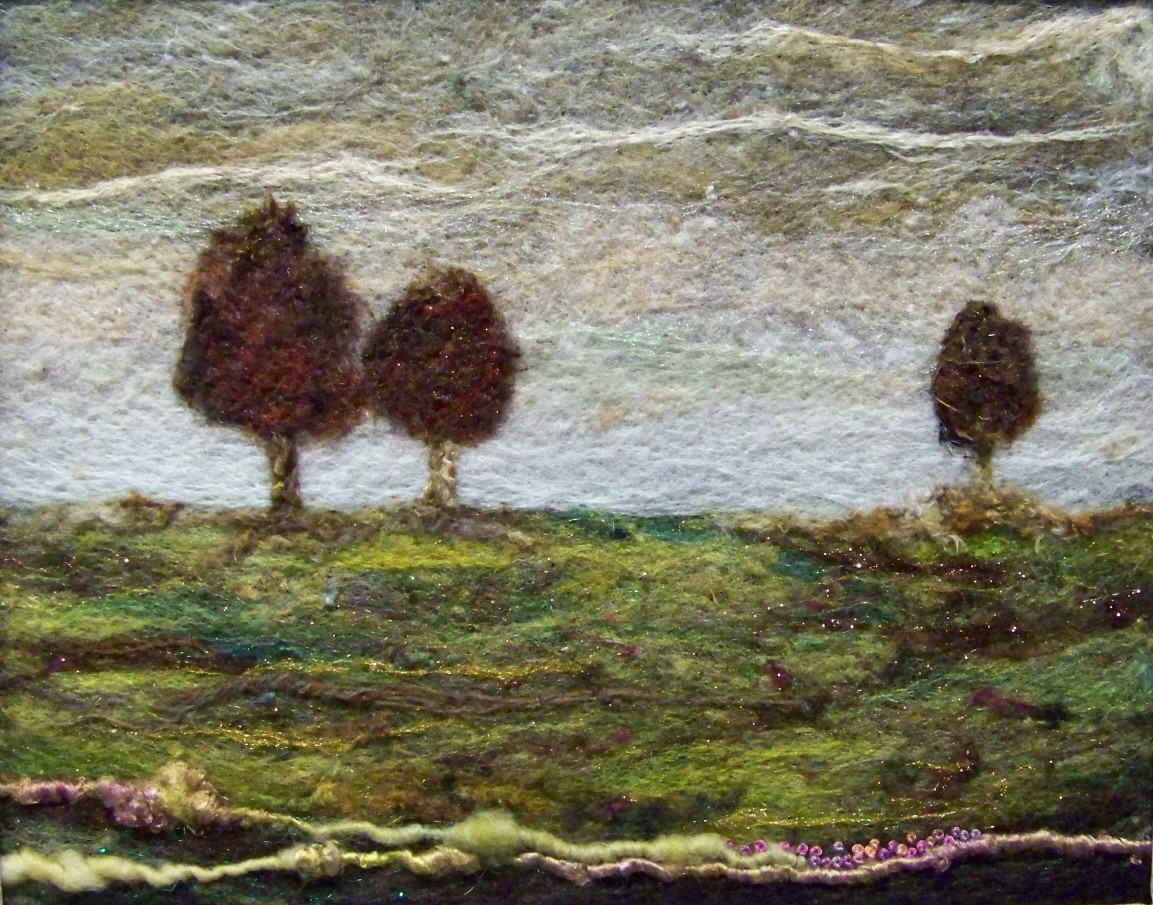
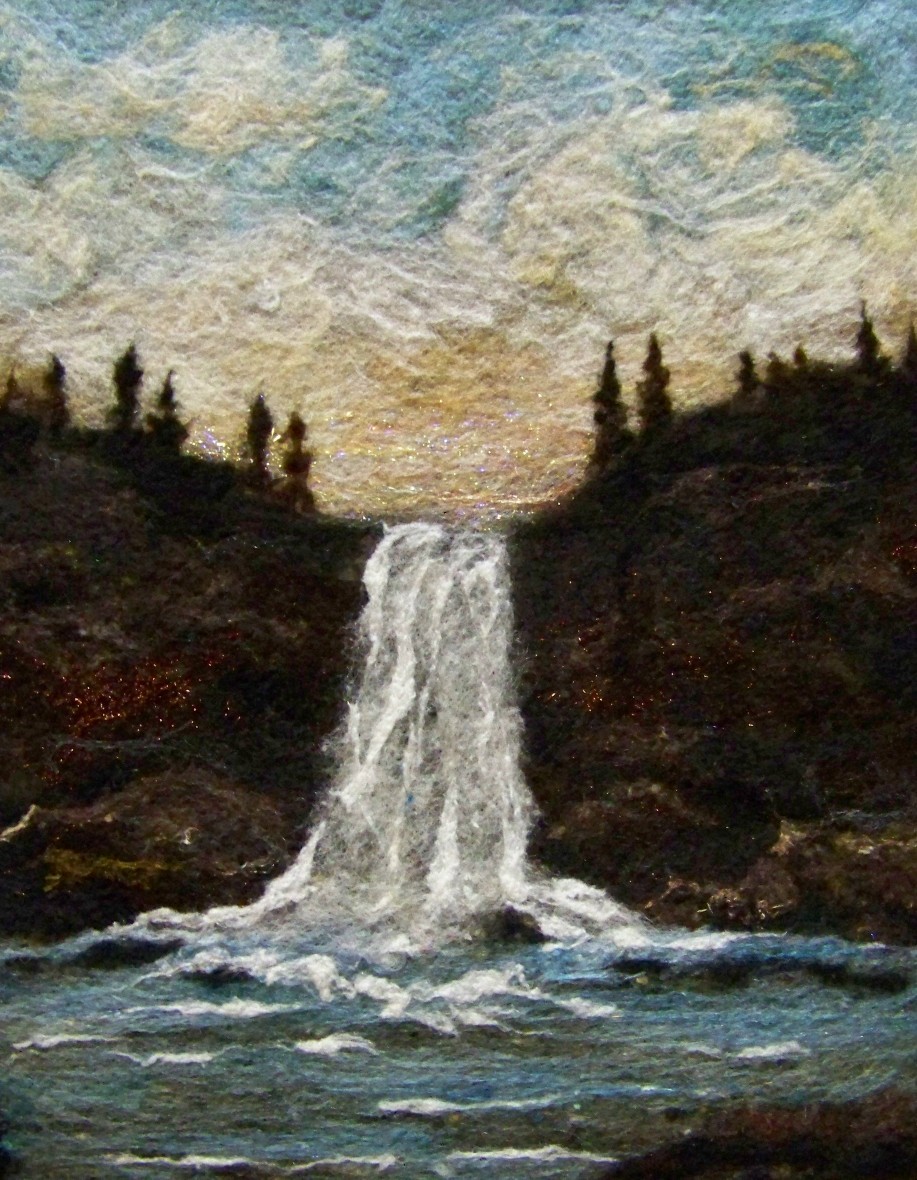
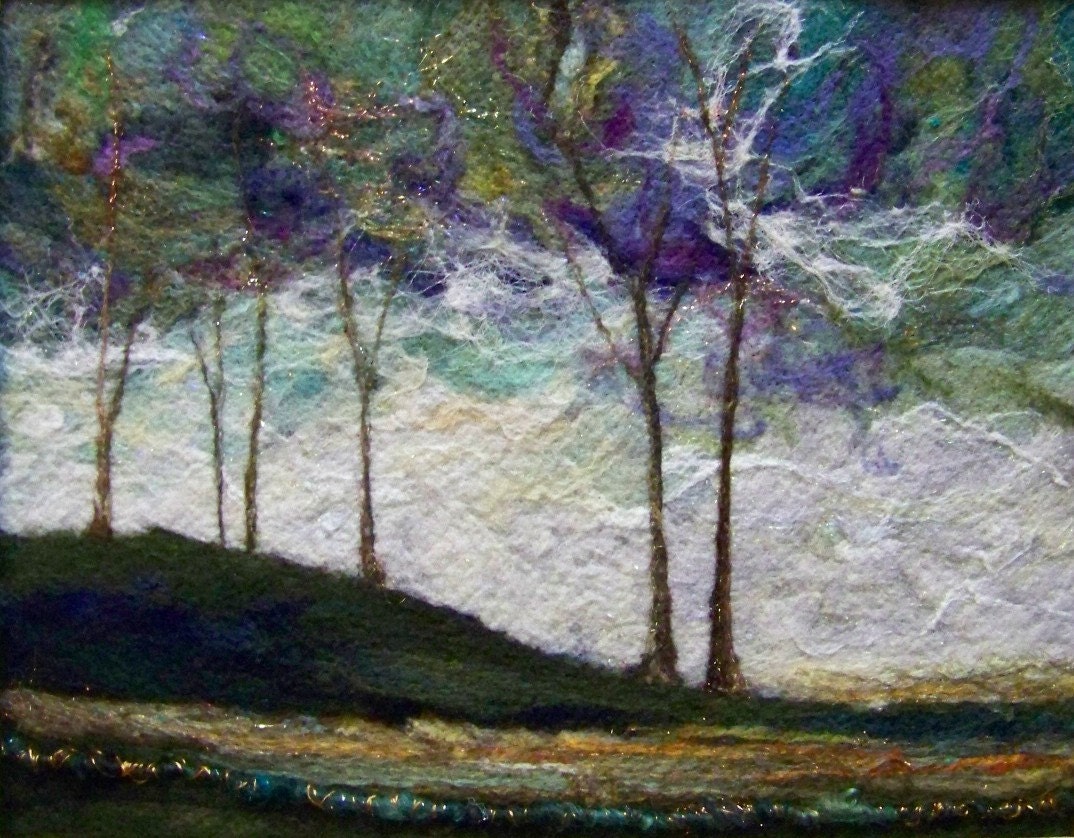
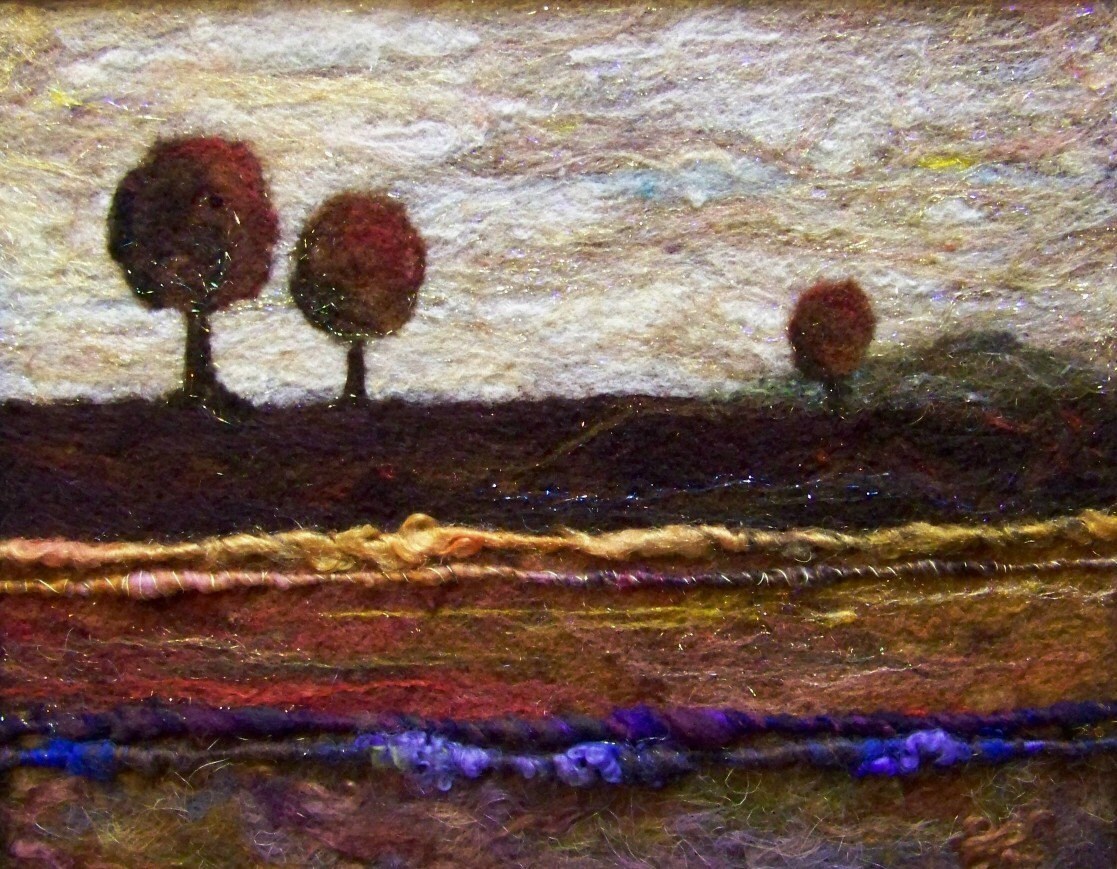
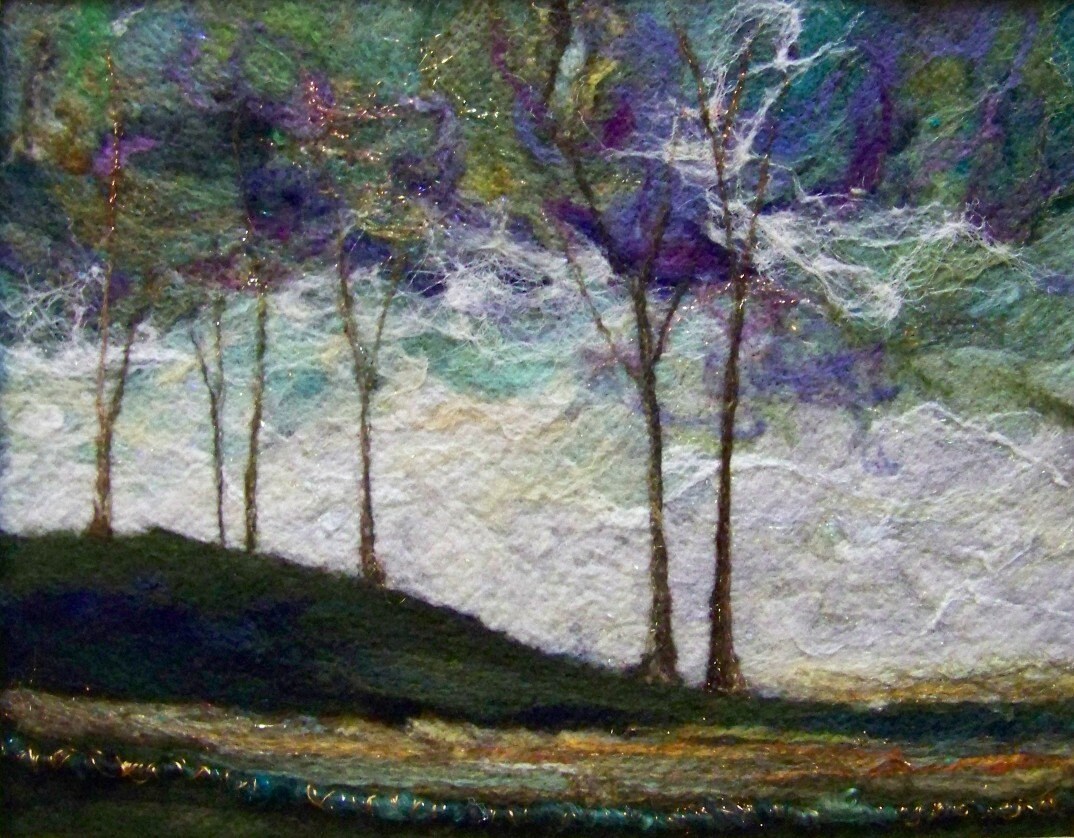
This is Debra Poth's felt work.

It's just amazing how she's able to catch movement and texture with wool. Her shop is Deebs on Etsy, and she's definitely on my short list for Christmas! I can't wait to see what she does with my little 'ol batts. I'm humbled.

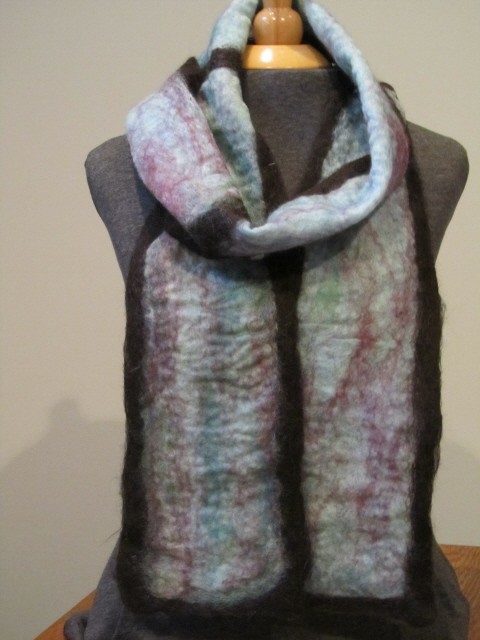
And check out this new fiber artist (well, new to felting anyway!). This is Joyce Deming's felted scarf that she made from one of my BFL/mohair batts:


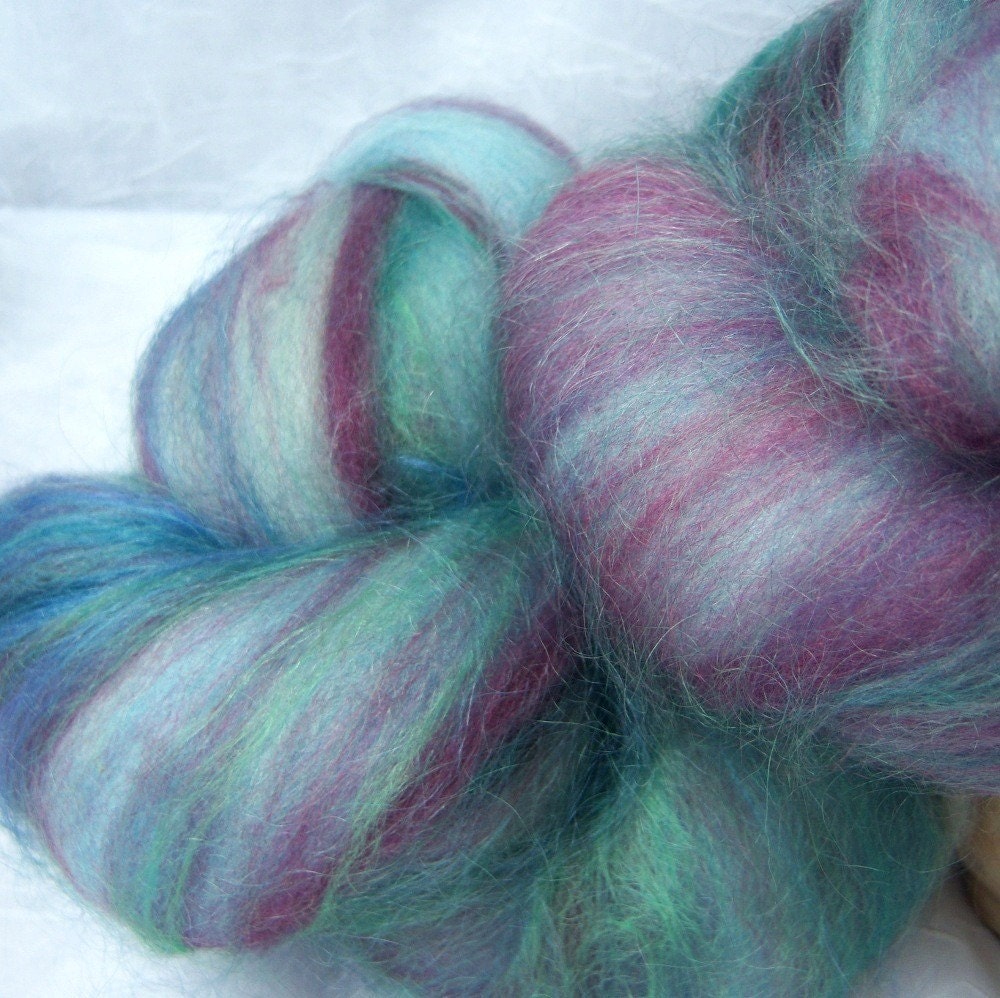
The original batts:

I really wish I could touch it!! It was only her third attempt at wet felting, and I think she nailed it! She has a site where she sells her necklaces and gorgeous ID tag holders: JD Handmade.

I'm no closer to defining art, artists and where I stand, but if I help inspire women like this, then my work is done!!

I hope everyone had a great Fiber Friday, and check out the link to Wisdom Begins in Wonder's blog to get more fiber-y fill!

Wednesday
Nov102010

And in Duck News . . . 

My very first post on my blog was about my ducks and their aversion to water. Seriously. They wouldn't go in. You can read about it here: Awww Ducks.

Well, I'm pleased to announce that my ducks have seen the light! Or, as the case may be, the water!

Check it:

 I'm so proud. It's only taken 6 months and freezing cold weather to tempt them into the water.

OK.

So, now a confession:

Yup. That's as deep as they go. But their feet aren't touching; I think that counts for something! Hey . . . baby waddles, ya know?

And they're REALLY enjoying the water. Here's a few more shots of them frolicking.

Splashin'The only drake we have stretching for the ladiesTaking a nap with one look out at the readyQUACK!!I hope they're able to take a few swims around the pond before it starts freezing over. Keeping my fingers crossed.

In fiber news, I have a lot of new batts up in the shop, with more to come. Check them out! And I'll be working to update the blog with breed information; my goal is to have an info page for each breed that goes into the batts. It'll take me a while, but I still think it's important to keep spinners educated!

Take care everyone--and I'd love some comments about my gifted ducks!!

Wednesday
Nov032010

Phat Fiber Samples!

I've decided to join in the fun and send samples in to the Phat Fiber Box. For those of you out side of the fiber world, the Phat Fiber box is a fiber festival sent through the mail to customers.

Independent fiber artists send samples in, and then 200 boxes are made from the samples. Every box is different because each artist only sends in about 20-100 samples (depending on how ambitous they are!). At a secret time every month (but you can get a heads up through the website), the boxes go on sale through the Phat Fiber etsy store. They are sold out in a matter of seconds!

But througout the month, there's lots of fun in the Ravelry group and many prizes through the Phat Fiber blog (a lot of artists send in full-size products to be given away on the blog).

So now I'm going to be a part of it all, and I'm so excited!! I sent my samples off last week, but I want to show them off here! The theme for November is "Seasons of Light."

They're hand-pulled roving wrapped around battery-operated tea lights! I just love them ;)

Here's a few more pics


All wrapped up for the box

A full-sized batt to show off the fibers.

The fibers included are Merino, BFL, Silk, Corriedale, Romney and Firestar. Super soft!!

Friday
Oct292010

Zombies at the Mall (and a Phat sneak peek)

I've been writing this post in my head since Sunday, and can't wait to get it out there to my blogging groups because I know of a few people who would enjoy it! But today has been filled with Halloween parties and birthday party prep. So now it's almost 4 and I need to start cooking, but here I am writing to all of you!

Happy Fiber Arts Friday and Crafty Friday!

I'm a big Anita Blake fan. Love the Buff. Can't wait for Karen Marie Moning's next book. And have seen everything by Joss Whedon (except Firefly which is in my Netflix queue, but including Dr. Horrible's Sing Along Blog!). I'm terribly sad that I missed the Phat Fiber group's Ravelry "Surviving a Zombie Apocolypse" swap. But cheer myself up with another viewing of "Zombieland."

If you know what I'm talking about, we must be kindred spirits. If you don't, my best friend Petra has a book and movie list for you (she rolls her eyes at all this stuff).

As an aside, I know this doesn't really fit in with my Christian beliefs, but it's a vice I'm aware of and am working through.

So there's my street cred. I have a dark side that I keep quiet, but my spirit rejoices when I find another zombie/vampire/Faye/Highland Berserker fan. However, I don't live out my dark obessions like some people, and that may put me at a disadvantage when I encounter something like this in my mall parking lot:

Wow. I know.

So here's where I'm at. . . I thought I was up on all my sub-culture dark stuff, but what is this? Is this a group I'm not familiar with (gasp!) or some individual who lives out their fantasy life a little too much?

It's pretty awesome, but when we (my boys and I) peeked into the back seat, there's actually a slaying kit in there!!! No kidding. They had a large canvas bag (maybe for the bodies?), an ax, a shovel and a gun case. That's when we continued walking into the mall and made sure no one saw me taking pictures!

However . . . since the response vehicle was at the mall, were we walking into our own zombie apocolypse?!!! Next time I go shopping, maybe I need to bring some salt and a little voodoo with me!


On a fiber-y note, I'm participating in the Phat Fiber box for the first time ever this November. All my samples are done, and here's a sneak peek:

The theme is Seasons of Light. I'll have pictures of the actual samples in a week or two; closer to when the videos are done.

I can't wait to hear what everyone's take is on the zombie outbreak response vehicle, or to be educated on this group!!!

Have a Happy Halloween!!!


Friday
Oct222010

Pulling Roving and Planning Stripes from Striped Batts

Happy Fiber Arts Friday and Crafty Friday everyone! If you're viewing this as a link from one of my groups, the photos are missing. Please click here to see the post with photos; it'll take you to my main journal page. Below is my latest tutorial, this one on pulling last week's striped batts. I'm behind on everything as usual, so I don't have the second ball of yarn spun up and no, the vest isn't finished.

But I'm publishing this here and permanently in my tutorial section, so when I have the second ball of yarn finished, it'll be added over there. For those of you involved in Fiber Arts Friday or Crafty Friday, and you find pulling wool batts boring, check out Wednesday's post about my adventures with West Texas cotton!

Have a great week!


Most of us that spin from batts know that there are quite a few ways to handle your batt for spinning. This particular tutorial will deal with pulling side strips, specifically to create stripes in your finished yarn from a striped batt. It's also a great method to use if you have a well-blended batt--you just won't get stripes!

Step 1:

Plan.

Uhg. I know, planning isn't fun. Touching, pulling and spinning fiber are fun. But planning is necessary for a great finished product. If you know what you're going to be spinning the yarn for, all the better! I'm planning to use my yarn for edging at the neck and arms on a vest for my daughter that is knit in the round (all important information). The neck opening is a larger circumference than the arms, and as many knitters have experienced, if you use yarn with the same stripe length for both, the neck will have little bitty rings and the arms will have thick rings (think Noro!).

Now, I know there could be math involved here, but I plan, I don't obsess. The arms are roughly 1/2 the circumference of the neck, so we're sticking with that ratio!

I have two identical batts with a striping pattern (for a tutorial on creating striped batts, click here). They will be A and B (creative, I know). Batt A will be for the neck and Batt B will be for the arm holes.

Step 2:

Pull into mini-batts for roving prep.

Batt A: Split the batt in two horizontally. Put your hands in the middle of the batt, then separate them until you can pull and feel movement. Go ahead and rip it in two! These will be Ball A1 and Ball A2 for you to make singles A1 and A2 which will be plied together for yarn A. Most of the pictures here are of these two mini batts.

Batt B: Split the batt in two horizontally, just as you did for Batt A. THEN, split each of these again. You will have four mini-batts. They will come together into two balls: Ball B 1&2 and Ball B 3&4. You will spin singles B 1 then 2 on the same bobbin, and singles B 3 then 4 on the same bobbin. By splitting each singles into two, you are creating shorter striping areas, and a repeat of the stripes for each roving ball and the final yarn.

Review: Final yarn A's stripes will not repeat and will go purple, blue, red, white from one end to the other (perfect for the neck opening). Final yarn B's stripes will be shorter and repeat once. They will be purple, blue, red, white, purple, blue, red, white from one end to the other (perfect for the 2 smaller arm holes)

If you don't know what you'll be using the yarn for, I recommend following the splitting process for Batt B or even further separating the batts horizontally, depending on how fine you plan to spin. Just make sure you split and even number so that you have singles that match up for a 2-ply.

Step 3:

Pull off a strip of the batt from one side.

Batt A strip


Step 4:

Continue pulling strips across the batt until you have even lenths of color. I do this on a table with no children, cats or dogs around so that nothing gets messed up! If you don't like how the colors lay next to each other, now's your chance to move things around. And you can choose whether you want your colors to be definted, or slightly blended by how you choose where to separate them. I like the section between colos to blend a little and you can see that easily in the purple/blue strip and the red/white strip.

Batt B pulled into strips (notice the shorter length)


Step 5:

Start with your first strip (mine is purple) and begin gently lengthening it just as you do when you pre-draft. When you get to the end, split the last blub (a technical term) of fiber instead of pulling it. Open up the beginning of the next strip in the same way.

End of strip 1 and beginning of strip 2


Step 6:

Lay these into each other, grasp as one, and stretch gently to create a join.


Step 7:

Continue across your strips, pulling and joining as you get to the next length of batt. For Batt B, work across you colors in Batt B1 then join your last color (for example, mine is white) with your first color (purple) from B2. Continue until you get to the end of B2.

Roving all ready to go (notice the color play between the stripes!)


Step 8:

Gently roll the roving into a ball. Here is Batt B completely in balls, and Batt A needs to have the second batt pulled. If you look closely, Batt A is on the left and you can see how thick the white area is. Batt B is on the right (and in back) and the white is thinner because only half the white was used at the beginning. The other half of the white is in the ball.

Step 9

Spin it up.

You'll have four balls of roving, two with no color repeats, two with the colors repeating once. Make sure you ply the correct singles together!! Control your plying so that the colors match up as you go.

Here's my final Batt A all spun up with long sections of color.

And here it is stretched out so that you can see how the colors only repeat once.

And here's what it will look like with the vest it's intended for!


Final Tip:

Pull all your roving at once before you begin spinning. This will keep the thickness of your roving more even for spinning later, AND will help with organizing which rovings go together for plying. I even put matching rovings into zip lock bags together with labels simply because I'm known for beginning a project, and when I get back to it in a year having no idea what I'm looking at. I always assume I'm not going to finish the project in a timely manner and make notes to myself all over the place!

Happy Spinning!

Amanda


Page 1 ... 2 3 4 5 6 ... 7 Next 5 Entries »