

My daughter Hannah is 5 (and a half!) and tells people all the time that she's a professional artist, mainly because she helped me dye some roving last year, and it turned out pretty well. I added it to my Etsy store and it sold! So we decided that if you make something, and someone else buys it, you're a professional!
And now I've created a monster. A very cute, very artistic monster. One that I am very proud of, but one that may eat me out of wool and dye.
Here's our latest foray into the world of fiber. This project was her first experience taking wool from stinky sheep to finished product. Admittedly, this project is probably more for dyers and their children and not the every-day crafter, as many of these supplies are unavailable at your local craft store.
But it's a good little technique to get kids involved and creates beautiful results.
Materials:
Acid Dyes (available on-line) prepared per directions on package--three tertiary colors
vinegar in a spray bottle
washed wool locks (we used 2 oz. of Corriedale)
Plastic wrap
disposable plastic cups (we used yogurt containers)
syringe medication dispenser
disposable baking pan
small lingerie/laundry bag
hand cards
spinning wheel or drop spindle
Step 1:
Pre-soak washed locks in water with a splash (1/4 c.) of vinegar.
Step 2:
Lay out strips of plastic wrap over a table (with newspaper/drop cloth/paper towels underneath).
Step 3:
Add wet locks to the plastic wrap, spreading them evenly.
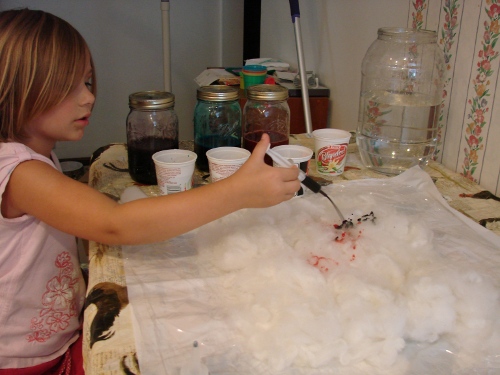
 Hannah gearing up to create.Step 4:
Fill three cups with a small amount of dye. Tip: I only let Hannah choose three colors that would blend well together. She used pink, purple and turquoise. As the pink and turquoise mixed, we got more shades of purple.
Step 5:
Let kiddo squirt dye on wool. I had her start with purple and apply liberally, then pink moderately and then turquoise sparingly, because she wanted a mostly purple yarn. You may only want to fill the cups appropriately depending on your child's age. And remind them to leave a lot of white because the dyes will mix as they heat in the next step. The colors will sink under the wool, so you'll need to keep checking to make sure you don't have a dye soup mess.
 Hannah applying purple.
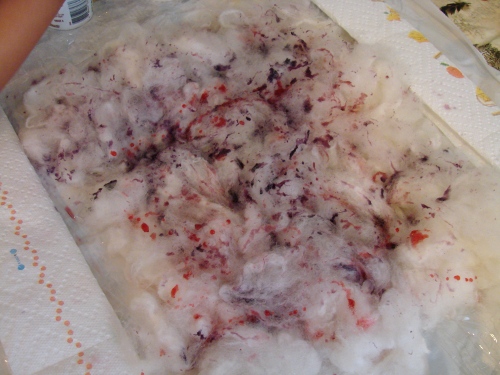 purple and pink applied.
 Checking the sink factor.
 All colors complete
Step 6:
Spritz liberally with vinegar. Wrap up the wool/dye combo with the plastic wrap to create a nice little envelope. Wrap a few layers around the whole thing to make sure it's water-tight.
 Wooly package.
Step 7:
Set package in pan with water. I had too much air left in my package, so I had to rig up this weight system to keep it down. Keep water just under a boil (simmering) for 20 minutes, flip and continue for 20 minutes on other side. This may seem like over-kill, but different colors strike at different times. You want to make sure they all stick.
 Simmering wool
Step 8:
Remove from pan with tongs and let cool in the sink. Once cool, carefully cut open the plastic wrap, and dump the wool out. Continue to let cool. Once they are at room temperature, carefully fill the sink with luke-warm water and drain. Repeat until no more dye comes out of the wool. Be careful not to allow the water to run directly over the wool as they could felt.
 Wet, cooling dyed locks.
Step 9:
Put rinsed locks in a small laundry/lingerie bag and spin it over your head outside. Warning, you will get anyone around you wet! This can be kinda fun :)
 Hannah flinging the wool!
Step 10:
Lay locks outside on clean towel to dry.
 Oooh . . . drying locks
Step 11:
Hannah and I took turns using my hand card to create rolags. She managed one or two by herself, and I took over for the rest. I hand pulled the rolags into roving and split it into two balls. Here's where I messed up. My intention was to create a smooth singles to ply with her first hand spun. I wanted something stable to hold any lumps and bumps she may have together. But I created two equal balls: one for me to spin and one for her. Duh. I had twice as much yardage as she did. If you plan on spinning a sport/worsted weight singles to ply with, you probably only need to hold back about a third for yourself, and let kiddo take the rest.
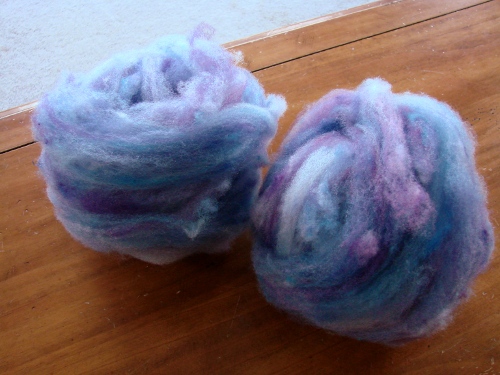 Our finished roving.
Step 12:
Teach your child how to spin. Well that's easy enough, right?! I had to work very hard to allow Hannah full control over her yarn. She did a great job, and the less I interfered, the better the yarn turned out. I just kept trying to make it boring and smooth. Hint: spin up your singles first so that once your child is finished spinning, it's really quick to ply them together.
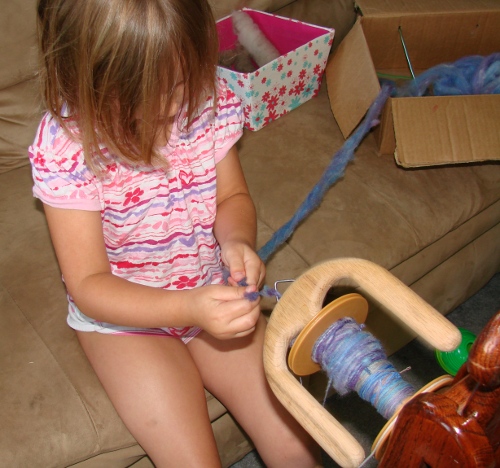 Hannah at the wheel filling up a bobbin.
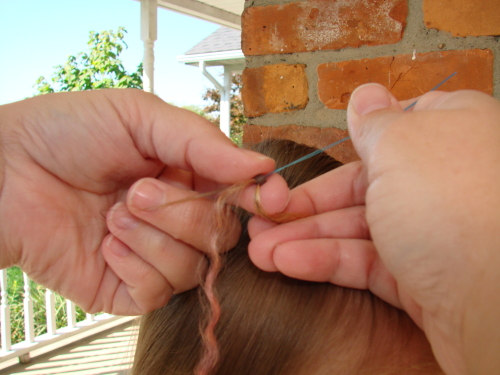
Step 13:
Ply together and grab your Niddy Noddy!
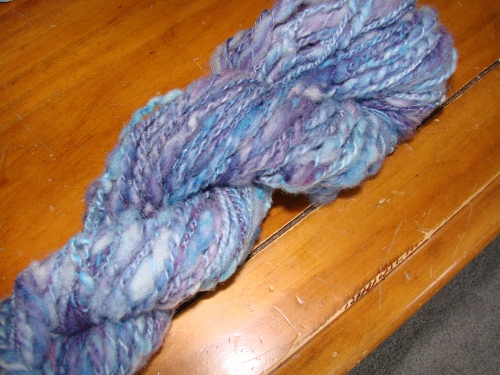 Our finished master piece!
I think I'll use it for a brim of a hat for her. Hannah knows how to knit, but gets very antsy and doesn't have the patience to finish a project yet (can't blame her, you should see my stack of UFOs!), so I usually have a project going and call her over to do a row here and there. That way she still feels like she had a hand in the finished item.
We'll post pics of the finished hat once it's done! Have fun creating your own masterpieces!