Happy Fiber Arts Friday and Crafty Friday everyone! If you're viewing this as a link from one of my groups, the photos are missing. Please click here to see the post with photos; it'll take you to my main journal page. Below is my latest tutorial, this one on pulling last week's striped batts. I'm behind on everything as usual, so I don't have the second ball of yarn spun up and no, the vest isn't finished.
But I'm publishing this here and permanently in my tutorial section, so when I have the second ball of yarn finished, it'll be added over there. For those of you involved in Fiber Arts Friday or Crafty Friday, and you find pulling wool batts boring, check out Wednesday's post about my adventures with West Texas cotton!
Have a great week!
Most of us that spin from batts know that there are quite a few ways to handle your batt for spinning. This particular tutorial will deal with pulling side strips, specifically to create stripes in your finished yarn from a striped batt. It's also a great method to use if you have a well-blended batt--you just won't get stripes!
Step 1:
Plan.
Uhg. I know, planning isn't fun. Touching, pulling and spinning fiber are fun. But planning is necessary for a great finished product. If you know what you're going to be spinning the yarn for, all the better! I'm planning to use my yarn for edging at the neck and arms on a vest for my daughter that is knit in the round (all important information). The neck opening is a larger circumference than the arms, and as many knitters have experienced, if you use yarn with the same stripe length for both, the neck will have little bitty rings and the arms will have thick rings (think Noro!).
Now, I know there could be math involved here, but I plan, I don't obsess. The arms are roughly 1/2 the circumference of the neck, so we're sticking with that ratio!
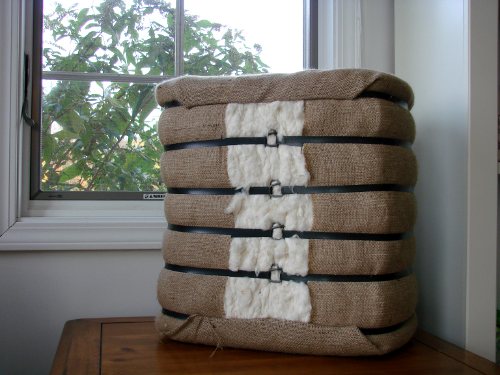
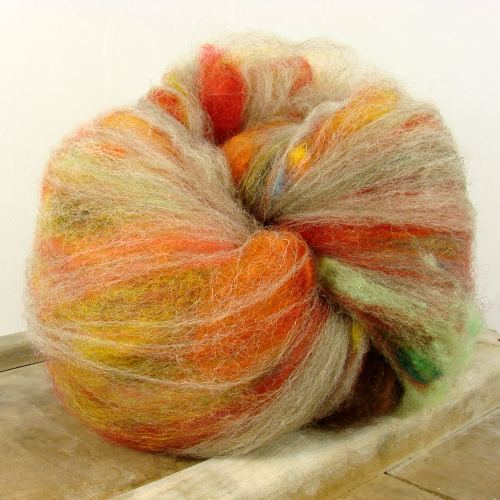
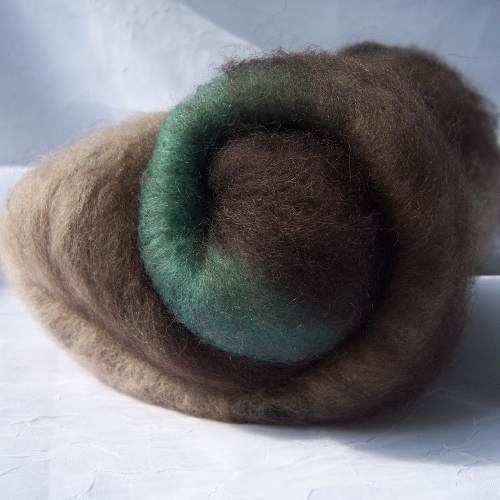
I have two identical batts with a striping pattern (for a tutorial on creating striped batts, click here). They will be A and B (creative, I know). Batt A will be for the neck and Batt B will be for the arm holes.
Step 2:
Pull into mini-batts for roving prep.
Batt A: Split the batt in two horizontally. Put your hands in the middle of the batt, then separate them until you can pull and feel movement. Go ahead and rip it in two! These will be Ball A1 and Ball A2 for you to make singles A1 and A2 which will be plied together for yarn A. Most of the pictures here are of these two mini batts.
Batt B: Split the batt in two horizontally, just as you did for Batt A. THEN, split each of these again. You will have four mini-batts. They will come together into two balls: Ball B 1&2 and Ball B 3&4. You will spin singles B 1 then 2 on the same bobbin, and singles B 3 then 4 on the same bobbin. By splitting each singles into two, you are creating shorter striping areas, and a repeat of the stripes for each roving ball and the final yarn.
Review: Final yarn A's stripes will not repeat and will go purple, blue, red, white from one end to the other (perfect for the neck opening). Final yarn B's stripes will be shorter and repeat once. They will be purple, blue, red, white, purple, blue, red, white from one end to the other (perfect for the 2 smaller arm holes)
If you don't know what you'll be using the yarn for, I recommend following the splitting process for Batt B or even further separating the batts horizontally, depending on how fine you plan to spin. Just make sure you split and even number so that you have singles that match up for a 2-ply.
Step 3:
Pull off a strip of the batt from one side.
 Batt A strip
Step 4:
Continue pulling strips across the batt until you have even lenths of color. I do this on a table with no children, cats or dogs around so that nothing gets messed up! If you don't like how the colors lay next to each other, now's your chance to move things around. And you can choose whether you want your colors to be definted, or slightly blended by how you choose where to separate them. I like the section between colos to blend a little and you can see that easily in the purple/blue strip and the red/white strip.
 Batt B pulled into strips (notice the shorter length)
Step 5:
Start with your first strip (mine is purple) and begin gently lengthening it just as you do when you pre-draft. When you get to the end, split the last blub (a technical term) of fiber instead of pulling it. Open up the beginning of the next strip in the same way.
 End of strip 1 and beginning of strip 2
Step 6:
Lay these into each other, grasp as one, and stretch gently to create a join.

Step 7:
Continue across your strips, pulling and joining as you get to the next length of batt. For Batt B, work across you colors in Batt B1 then join your last color (for example, mine is white) with your first color (purple) from B2. Continue until you get to the end of B2.
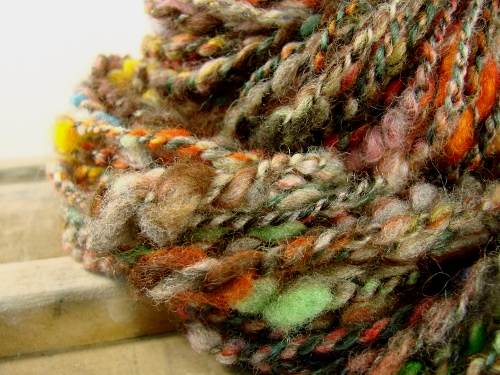
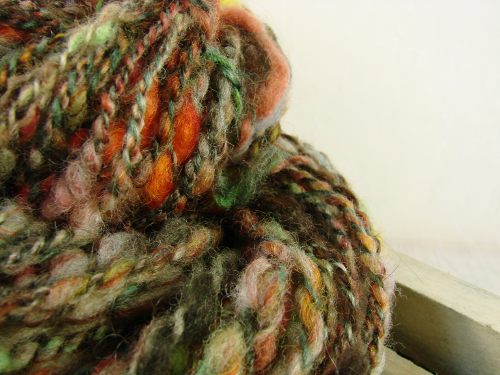
 Roving all ready to go (notice the color play between the stripes!)
Step 8:
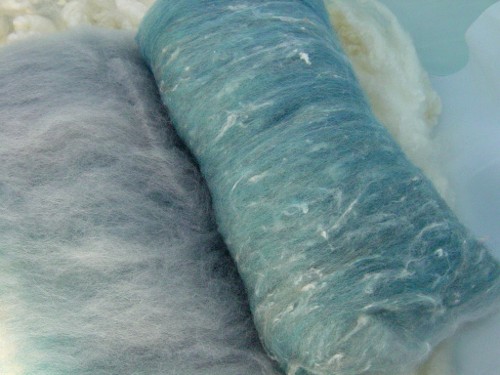
Gently roll the roving into a ball. Here is Batt B completely in balls, and Batt A needs to have the second batt pulled. If you look closely, Batt A is on the left and you can see how thick the white area is. Batt B is on the right (and in back) and the white is thinner because only half the white was used at the beginning. The other half of the white is in the ball.

Step 9
Spin it up.
You'll have four balls of roving, two with no color repeats, two with the colors repeating once. Make sure you ply the correct singles together!! Control your plying so that the colors match up as you go.
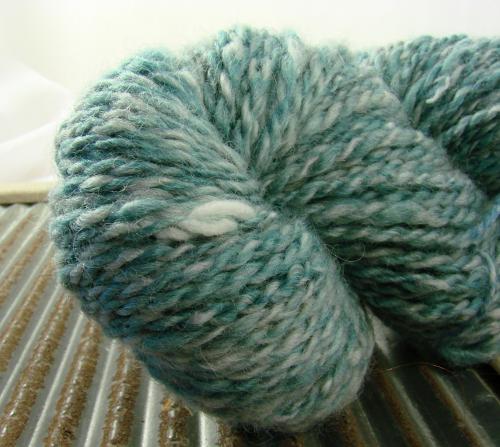
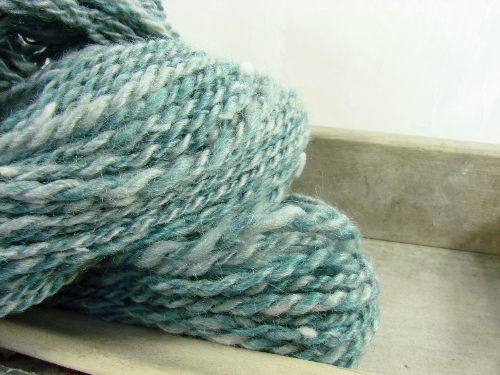
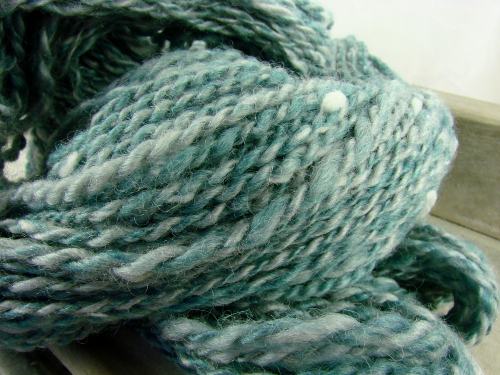
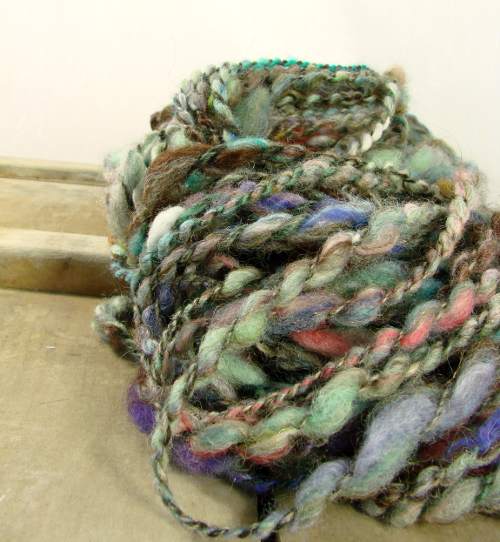
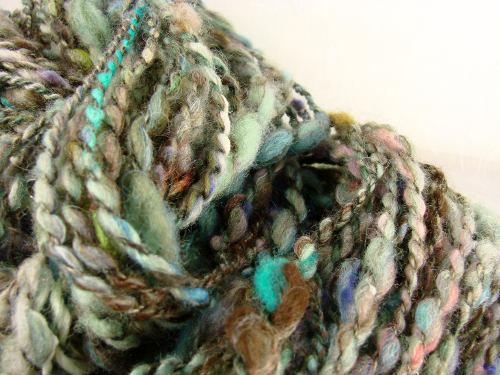
Here's my final Batt A all spun up with long sections of color.

And here it is stretched out so that you can see how the colors only repeat once.

And here's what it will look like with the vest it's intended for!

Final Tip:
Pull all your roving at once before you begin spinning. This will keep the thickness of your roving more even for spinning later, AND will help with organizing which rovings go together for plying. I even put matching rovings into zip lock bags together with labels simply because I'm known for beginning a project, and when I get back to it in a year having no idea what I'm looking at. I always assume I'm not going to finish the project in a timely manner and make notes to myself all over the place!
Happy Spinning!
Amanda


 Follow the link to her blog!The top is my handspun, the ear flaps are three strands of commercial yarn held together. Just lovely! Thank you so much Autumn for letting me know about this.
 Willow Glen Farm